Showing posts with label Food. Show all posts

Monday, 1 June 2015

Roast Tomato Soup with Grilled Cheddar Cheese and Caramelized Red Onion Sandwich.


I bring you this dish on a cold, blustery day in Cornwall but, while it warms me up nicely as I take a scoop from my bowl and hear the chilly, breeze blowing outside, if you are fortunate enough to be having a sunnier and warmer 1st of June than myself then please still feel free to devour this lovely soup and enjoy it's vibrant, refreshing, summery flavours. 

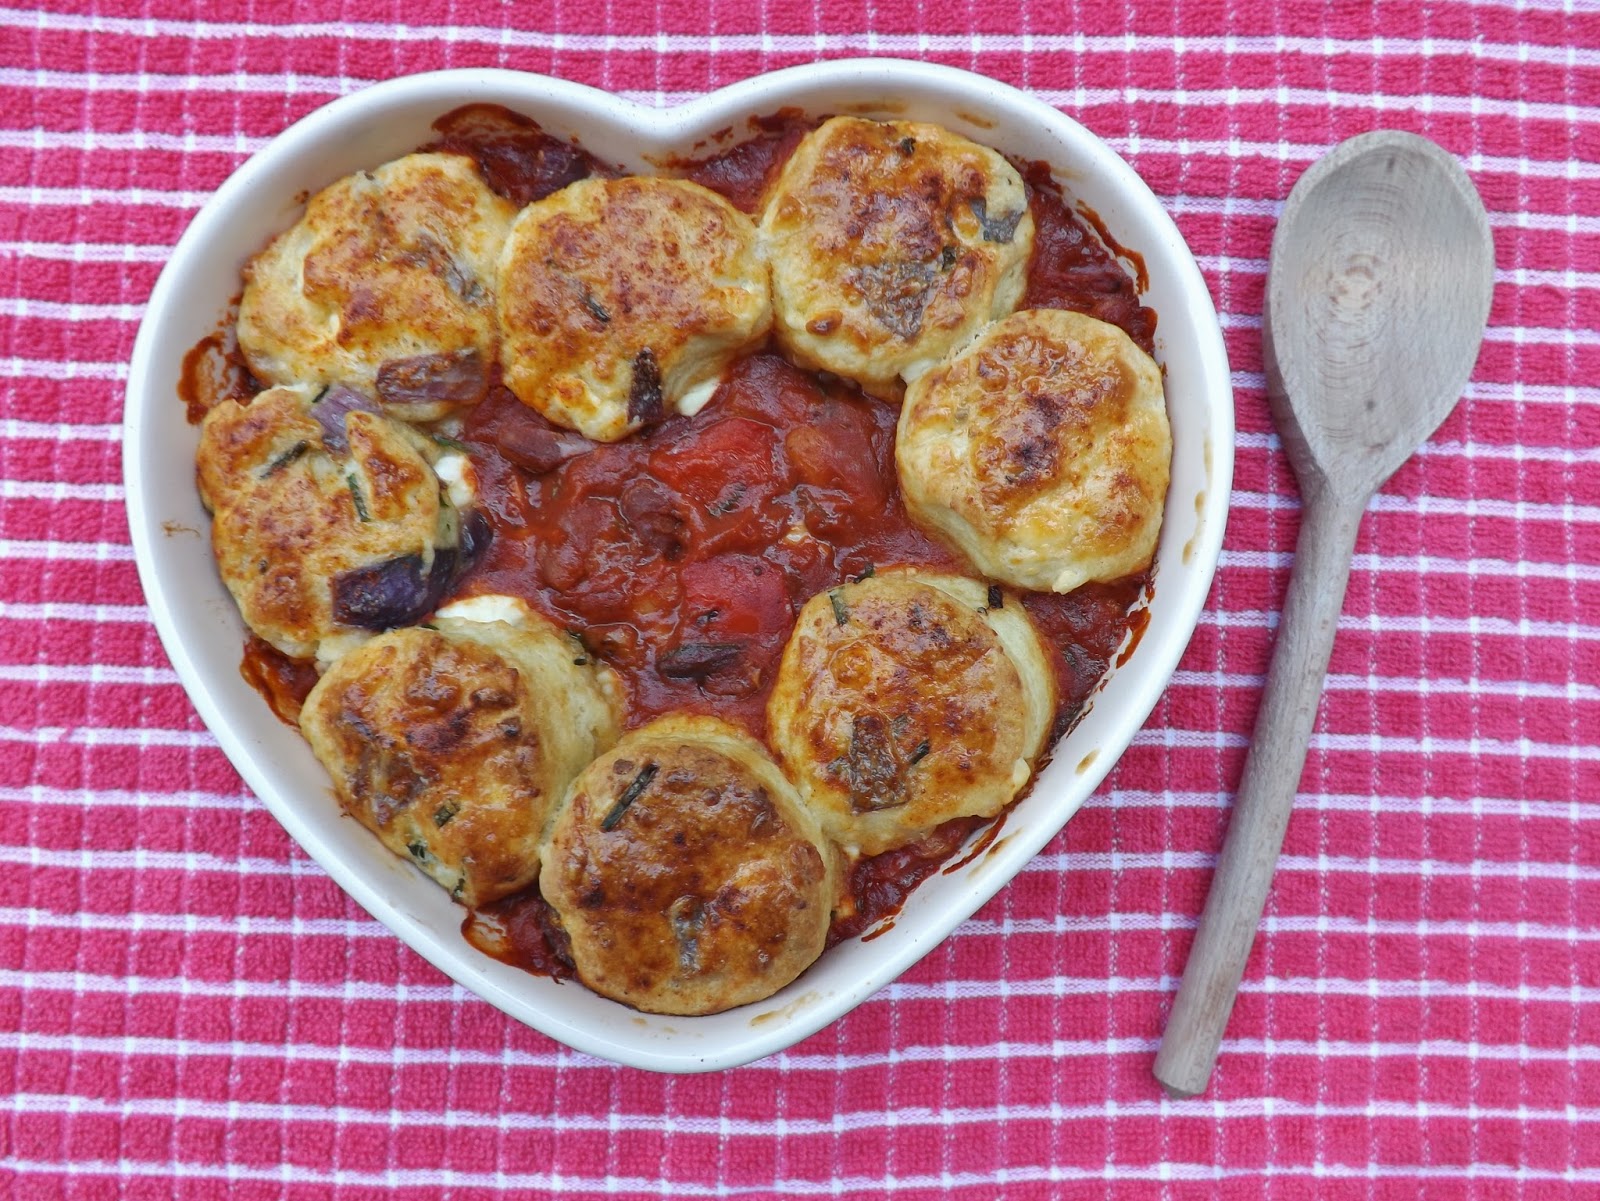
Never will I eat tomato soup without a grilled cheese again. The crisp, golden bread encasing an ocean of melted cheddar and sweet, caramelized red onions is the perfect accompaniment to dunk into this wonderful soup and quite frankly the perfect food to eat at any moment when hunger strikes; breakfast, dinner, tea... and again for dessert. It is scrumptious! Taking the typical cheese toastie I've always had growing up, the American's thought why not go one better and smother this in butter and fry it until crunchy and glorious? Boy am I glad they did. Add in a yummy roast tomato soup drizzled with pesto oil, scattered with molten mozzarella and topped with a vine of sweet, juicy cherry tomatoes and you've got yourself a pretty damn delicious dinner.

Ingredients
Makes 4 BIG bowls of soup and 4 gorgeous grilled cheeses.
For the Roast Tomato Soup:
12 salad tomatoes, halved
A pinch of caster sugar
6 tbsp. olive oil plus extra to drizzle
50g unsalted butter
2 each of onions, carrots and garlic cloves, chopped fairly small
2 tbsp. tomato puree
400g tin of chopped tomatoes
1 bay leaf
1 basil sprig plus 12 leaves to prepare the basil oil
1 litre vegetable stock
4 clusters of vine-ripened cherry tomatoes
12 mini mozzarella balls/pearls
For the Grilled Cheddar Cheese and Caramelized Red Onion Sandwiches:
1 large red onion, sliced
1 tsp. olive oil
A good sprinkling of dark brown sugar
A good glug of balsamic vinegar
8 slices of thick white bread
A hefty pile of grated mature cheddar cheese
Unsalted butter, softened

Method

1.    Preheat the oven to 180°C. Place the salad tomatoes, cut-side up, onto a baking tray and sprinkle with sugar, drizzle with olive oil and season. Roast for 40 minutes until nice and softened.

2.    Meanwhile, heat the butter and 1 tbsp. olive oil in a pan over a medium heat and cook the onion, carrot and garlic, stirring for 5 minutes until softened. Add the tinned tomatoes, tomato puree, bay leaf, basil sprig, vegetable stock, roasted salad tomatoes and any cooking juices. Bring to the boil and then reduce the heat to low and simmer, stirring occasionally, for 20-25 minutes until the vegetables are lovely and tender.

4.    Discard the basil sprig, cool slightly and then blend the soup in batches. Return to the saucepan and cook over a low heat, stirring until warmed through. 

5.   While you warm through the soup, take your vine ripened cherry tomatoes, place them into a baking dish, drizzle lightly with olive oil and roast in the oven for about 15-20 minutes until softened and lightly charred.

6.   Next, place 5 tbsp. olive oil into a blender with 12 large basil leaves and blitz to make your basil oil. 

7.   You can now prepare your grilled cheese sandwiches. I apologize for the vagueness of my ingredients list here but, this is because with a grilled cheese you can't really go wrong with how you prepare it; what ingredients you put in it or how much of each ingredient you use. It's entirely up to you! To prepare my caramelized red onion I add the sliced red onion to a saucepan, fry it until softened in 1 tsp. olive oil, then add a sprinkling of dark brown sugar, stirring until the onion becomes caramelized, add in a splash of balsamic vinegar and continue to cook until the onion is lovely, glossy and sticky.

8.   I then like to take two pieces of chunky, white tiger bread, scatter one piece with a large pile of grated mature cheddar cheese (please feel free to use whatever cheese you like though e.g. goats cheese, edam, swiss cheese, blue cheese and as much as you like!), scatter on some caramelized red onions, place the other round of bread on top and squash down a little to help the sandwich hold together when you're flipping it in the pan. 

9.   Next, heat a drizzle of olive oil in a frying pan over a medium heat, spread a layer of butter on top of your sandwich and place it butter side down into the hot frying pan, leaving to fry for a few minutes until lovely, crisp and golden. Once ready to flip, spread another layer of butter on the uncooked side of the sandwich and flip, leaving for a few minutes again until crunchy and bronze. Grate a little more cheese on the top side and keep flipping until both sides are bronze and crunchy and the cheese in the center is completely melted.  

10.  Now scoop the warm soup into bowls, place three mozzarella balls into each and allow to melt in the hot soup, drizzle with a swirl of basil oil and pop a vine of the roasted cherry tomatoes on top. Finally, cut your crunchy grilled cheese in half and watch as a waterfall of golden cheese oozes out. Last of all, whether your snuggled up on your sofa in a blanket or sunbathing outside on a deckchair, sit back and enjoy!


Wednesday, 24 September 2014

Veggie Sausage Casserole with Feta, Chive and Red Onion Scones.


As much as I would love to cling on to the warm, sunny days of summer for at least a little while longer, the dark nights are beginning to roll in earlier and the breeze in the air is becoming all the more chilly so, it is almost impossible to deny that Autumn is now well and truly arriving. Luckily, despite the wind and rain that Autumn will surely bring with it, it will also bring a whole array of delicious, warming, hearty dishes to tuck into on any cold September, October or November evening and I for one, cannot wait to munch on every stew, hot pot, cobbler and crumble Autumn has to offer. 

For me, this gorgeous veggie sausage casserole has just become my go to meal for Autumn and I can't quite believe just how delicious it turned out. The casserole is full of rich, earthy flavors and vibrant, colorful vegetables and the feta, chive and red onion scones, oh these scones, are utterly unbelievable! Soft, light and fluffy and the perfect accompaniment to the tomato base of the casserole as it creates a really wonderful Mediterranean feel to the dish with the combination of tomatoes, red onion, feta and basil. It was honestly delicious and looking back on the pictures now, I could just munch on it all over again and next week I probably will!

Recipe
Serves 2-4
For the Veggie Sausage Casserole-
1 tbsp. olive oil
1 small red onion, finely chopped
1/2 yellow pepper, chopped into small chunks
1/2 red pepper, chopped into small chunks
1 fat clove of garlic
2 Quorn sausages
2 Quorn Chorizo sausages (you can get these from Sainsbury's or just use whichever vegetarian sausages you like. I think Linda McCartney's Italian sausages would be delicious in this dish if you can get them)
3/4 tsp. smoked paprika
1/4 tsp. ground cumin
65ml vegetable stock
1x 400g tin chopped tomatoes
200g mixed beans (I used a tin of mixed beans in a chilli sauce and they added lots of flavour!)
fresh basil
fresh chives
For the Feta, Chive and Red Onion Scones-
195g plain flour
1/2 tbsp. caster sugar
1 1/4 tsp. baking powder
1/4 tsp. bicarbonate of soda
pinch of salt
pinch of pepper
85g unsalted butter
1/2 egg, beaten
95ml whole milk
110g feta, crumbled
chopped chives
1/2 a small red onion, finely chopped
1 tsp. olive oil
1/2 an egg, beaten for glazing
smoked paprika for topping

Method

1. Start by preparing the scone mixture. In a mixing bowl, sift together the flour, baking powder, bicarbonate of soda, salt and black pepper. Stir in the sugar. Add the butter and rub in to the flour mixture until the mixture resembles fine breadcrumbs.

2. In another bowl, combine the egg and whole milk and beat lightly with a fork. (Start, by beating a whole egg and reserve half of the egg for glazing the scones when finished and use the remaining half an egg to whisk with the milk and add to the scone dough). Add the egg and milk mixture to the flour mixture and stir to make a soft, shaggy dough. Meanwhile, fry the red onion in 1 tsp. olive oil until softened.

3. Add the snipped chives, crumbled feta and fried red onion to the scone dough, tip out onto the work-surface and knead together. 

4. Roll or pat out the scone dough and cut out 8 or so small scones using a small round biscuit cutter. Set aside.

5. Next, prepare the sausage casserole. Pre-heat the oven to 180C. Heat the olive oil in a large pan. Add the onion and cook for about 5 minutes until softened. Add the celery and peppers and cook for 5 minutes more.

6. Chop the sausages into fairly chunky pieces and add to the pan. Fry for another 5 minutes and then add in the garlic and spices, cooking for 1-2 minutes until the aromas are released. 

7. Pour in the chopped tomatoes and mixed beans. Add the vegetable stock and stir, bringing to a simmer. Stir through some snipped chives and torn fresh basil.

8. Pour the sausage, bean and vegetable mixture into a casserole dish and arrange the scones on top in whatever pattern you like. You could just do a border like me or cover the top completely with mini scones. Brush the top of each scone with the reserved beaten egg from earlier and sprinkle with some smoked paprika.

9. Pop in the oven for about 20-25 minutes until the scones are bronze, fluffy and risen. Take out and enjoy!

Friday, 19 September 2014

Lemon Curd and Clotted Cream Scones.


When Life Gives You Lemons, Make... Lemon Scones.


Well, this post has definitely been a long time coming. With a failed attempt at shortcake a couple of weeks ago, a six and a half hour trip back to Liverpool for University last weekend and four 7am starts to get up for University this week, it has now shockingly become eighteen days since my last post which, is pretty terrible and I do apologize for that but, I am now officially back with a scrumptious scone recipe as a way of; saying goodbye to my family and home in Cornwall for the next four months and celebrating another delicious lemon themed recipe.

Despite growing up in Cornwall and having the certainty that Cornish Cream Tea would be featured on every single cafe, restaurant or tea room menu, I actually very rarely make homemade scones and so thought it would be nice to give them a go. I found this classic scone recipe on the BBC Good Food website and I have got to say that the recipe is so simple and wonderful and the scones are utterly stunning and just how great scones should be; crumbly, soft and sweet and perfect to encase a luxurious zesty lemon curd and rich clotted cream filling. The scones shot up like towers in the oven and I honestly could not believe how ginormous they were when I opened the oven door, they looked just like they had been bought from a bakery which, is always a good thing and even better when they are so easy and quick to make as well.

I had also never tried lemon curd on scones before yesterday as I had always stuck to the traditional jam and cream scone filling but, I can now safely say that lemon curd is a delightful and refreshing addition to a scone and may even be more delicious on a scone than jam but, shhhh! I'm not sure if that is an acceptable thing to say in Cornwall and I don't want to get banned from going home!

Recipe
Makes 8 Scones
For the Scones-
350g self-raising flour
1/4 tsp. salt
1 tsp. baking powder
85g unsalted butter, cut into cubes
3 tbsp. caster sugar
175ml milk
1 tsp. vanilla extract
squeeze lemon juice
1 beaten egg to glaze
For the Lemon Curd-
Grated zest of 1 lemon
juice of 2 lemons
2 eggs, beaten
90g golden caster sugar
55g unsalted butter
Clotted cream

Method

1. Start by preparing the lemon curd. Sit a heatproof bowl over a pan of barely simmering water but, don't let the bowl touch the water. Then place the eggs, sugar, lemon zest and juice in the bowl and whisk together. Now add the butter piece by piece and cook for about 15 minutes, giving it a good whisk from time to time, until the curd has become smooth, glossy and thickened. Allow to cool. You can make this the day before for convenience if you like. Just cover with cling film and refrigerate if desired.

2. Next, prepare the scones. Pre-heat the oven to 220°C/fan 200°C/gas 7. Tip the flour into a large bowl with the baking powder and salt and mix. Add the butter and rub in with your fingers until the mix looks like fine crumbs. Stir in the sugar.

3. Put the milk into a jug and heat in the microwave for about 30 seconds until warm but, not hot. Add the vanilla and lemon juice to the milk, then set aside for a moment while you pop a baking sheet into the oven.

4. Make a well in the dry mix, then add the liquid and combine it quickly with a cutlery knife, it will seem pretty wet at first. Scatter some flour onto the work surface and tip the dough out. Dredge the dough and your hands with a little more flour and fold the dough over 2-3 times until it is a little smoother. Pat into a round about 4cm deep. 

5. Take a 5cm round cutter and dip into some flour, plunge into the dough and repeat until you have about 4 round scones. By this point you will probably need to press what is left back into a round to cut out another 4 scones. Brush the tops with beaten egg, then carefully place onto the hot baking sheet. 

6. Bake for 10 minutes until risen and golden on top. Allow to cool, cut in half and smother with lemon curd and clotted cream.

Monday, 1 September 2014

Lemon and Pistachio Cake.


When Life Gives You Lemons, Make... Lemon Cake.

Today is of course the 1st of September and so unfortunately means that our summer, sunshine and days spent lazing on the beach are now over however, Google has assured me that Autumn does not officially begin until September 21st so, despite the fact that the view out of my window is one of grey clouds and rain and ignoring the fact that I am bundled up in a chunky, over-sized jumper and debating whether to put my electric blanket back on my bed, I will choose to believe that we do still indeed have a few weeks of summer remaining. As such, I thought why not celebrate our remaining few weeks of summer with a few particularly zesty and summery recipes because I know that when Autumn arrives in just a few weeks’ time, it will bring a whole lot of chilly, windy and rainy weather with it and zesty, refreshing summer recipes will be a thing of the past as we tuck into our hearty stews and puddings instead.

For me, nothing is more delightful, vibrant and zesty in the summer than lemons which, just so happen to make some of the most delightful and flavoursome baked goods as well. I have therefore decided to do something a little bit different on the blog for the next few weeks and have created the 'When Life Gives You Lemons, Make...' mini series to share some delicious lemon recipes with you, as I thought that having a theme on the blog for a few weeks would be something new and exciting. So, over the next few weeks I will be making; Lemon and Pistachio Cake, Zesty Lemon Tart and Lemon Curd and Clotted Cream Shortcake and so, hopefully there will be at least one lemon recipe to catch everyone's eye but, if you are a lemon lover like me then I hope you adore them all.

I decided to start with this moist, crumbly lemon and pistachio cake taken from Fay Ripley's, Fay Makes It Easy cookbook and added in my favourite homemade lemon curd. It is the perfect afternoon tea cake, or for me; ‘the whenever I feel like a slice of cake, cake’. Every glorious, soft, sweet bite melts in the mouth and bursts on the tongue with zesty, lemony flavour while, the velvety, tart, river of lemon curd running through the centre is just a heavenly, hidden treasure. Simple and scrumptious, that's what we like to hear. 

Recipe
For the lemon and pistachio cake-
125g shelled pistachios
150g unsalted butter, softened
150g golden caster sugar
150g self-raising flour
1/2 tsp. baking powder
50g ground almonds
2 large eggs
juice of 2 lemons
150g-175g lemon curd
For the lemon drizzle icing-
75g icing sugar
2 1/2 tbsp. lemon juice
For the lemon curd-
Grated zest of 1 lemon
juice of 2 lemons
2 eggs, beaten
90g golden caster sugar
55g unsalted butter

Method

1. Start by preparing the lemon curd.  Sit a heatproof bowl over a pan of barely simmering water, but don't let the bowl touch the water. Then place the eggs, sugar, lemon zest and juice in the bowl and whisk together. Now add the butter piece by piece and cook for about 15 minutes, giving it a good whisk from time to time, until the curd has become smooth, glossy and thickened. Allow to cool. You can make this the day before for convenience if you like so just cover with cling film and refrigerate if desired.

2. Next, pre-heat the oven to 180°C and grease and line a 20cm round spring form cake tin with greaseproof paper. Prepare the cake mixture. In a food processor grind 100g of the pistachios to crumbs. Tip into a mixing bowl or the bowl of a freestanding mixer. Add the softened butter, sugar, ground almonds and mix until smooth and combined. 

3. Pop in the eggs and mix again until combined. Add 2 1/2 tbsp. lemon juice and mix. Sieve the flour and baking powder into the mix and fold in gently.

4. Scrape half of the mixture into the cake tin and spread to fill the tin and meet the edges. Smooth the mixture out and then top with the lemon curd. Roughly spread the lemon curd over the top but not quite to the edge.

5. With the remainder of the mixture, drop dollops over the top of the lemon curd layer to cover it and gently spread the mixture to the edge of the cake tin, smoothing with the back of a spoon. 

6. Roughly chop the remaining 25g pistachios with a knife and scatter over the cake. Bake for about 45 minutes until brown. Remove from the oven and allow to cool completely in the tin.

7. For the icing just mix together the icing sugar and 1 1/2 tbsp. lemon juice, stirring into a paste. Drizzle over the top of the cake, creating a criss-cross pattern and leave for a couple of minutes to set before serving.

P.s. if you do happen to have any lemons remaining after baking this cake, then the whole 'When Life Gives You Lemons, Grab Some Vodka And Make Limoncello' sounds like a great idea too. 


Saturday, 30 August 2014

Mexican Bean Burgers.


As it was National Burger Day on Tuesday I decided to whip up some Mexican bean burgers to celebrate, complete with homemade brioche burger buns. I had never made burger buns before, nor had I made brioche but, I thought why not go all out and give these buns from The Clever Carrot blog a go. After mixing the ingredients together and forming the dough I felt rather alarmed at how tacky and wet the dough was and as I pulled the dough out onto the work surface it clung to my hands like chewing gum. I thought that something must have gone wrong but, decided to stick with it and trust that prior to baking, brioche was supposed to be a bit of a sticky mess. Well, you never know right? I mean I'm sure Megan Fox doesn't wake up looking completely stunning and flawless before she slaps on the make-up, right? No, you're right, she definitely does. I however, am not so fortunate but, pop on the old make-up and I start to look at least fairly decent so, I held out hope that after cooking, my buns would do the same. Since baking, I have now discovered that brioche dough does tend to be very tacky and wet due to the addition of eggs and extra liquid so do not be alarmed, you're just in for a treat when these moist buns come out of the oven!

I let the dough rise, shaped it as best I could into some round-ish buns, brushed over an egg wash, popped them in the oven and crossed my fingers. Miraculously, as I pulled open the oven door twenty minutes later, I was greeted with the sight of these gorgeous, glossy buns. My eyes widened and I licked my lips as the tantalizing aroma of fresh bread filled the air. I couldn't stop myself from tearing into a little bronze bundle and smothering it with butter; as soft as a cloud and beautifully sweet with every glorious bite.

After, managing to restrain myself from devouring the other seven buns I eventually used them to encase my mexican bean burgers (recipe taken from delicious magazine) and topped each burger with a luxurious, golden blanket of creamy, smoked cheddar and a scattering of crispy spring onions. With the addition of a squirt of zingy, sweet chilli sauce and a hefty dollop of chunky guacamole, it is safe to say that national burger day was very much appreciated in our household and these mexican bean burgers were very much enjoyed! 

Did you tuck into any tasty burgers to celebrate National Burger Day?

Recipe
Makes 8 burgers.
  1. For the Brioche Burger Buns-
  2. 250ml warm water
  3. 3 tbsp. warm milk
  4. 7g dried yeast
  5. 2 1/2 tbsp. sugar
  6. 2 large eggs
  7. 410g strong white bread flour
  8. 45g plain flour
  9. 1 1/2 tsp. salt
  10. 2 1/2 tbsp. unsalted butter, softened
  11. For the Bean Burgers-
  12. 2 tbsp. olive oil
  13. 1 red onion, finely chopped
  14. 6 spring onions, thinly sliced
  15. 4 garlic cloves, finely chopped
  16. 1 large red chilli, deseeded and finely chopped
  17. 1 tbsp. Cajun spice
  18. 3 x 400g tins mixed beans, drained and rinsed
  19. 1 large free-range egg, beaten
  20. 100g fresh breadcrumbs
  21. Small handful of fresh coriander leaves, finely chopped
  22. Juice of ½ lime
  23. 150g feta, crumbled
  24. For the Burger Toppings-
  25. Sweet Chilli Sauce 
  26. Applewood Smoked Cheddar
  27. Fried Spring onions
  28. Guacamole 

  29. (My favourite homemade Guacamole recipe-1 medium ripe tomato, 1 avocado (very ripe), the juice of 1/2 a lime, small handful of coriander (chopped), 1/2 a small red onion (finely chopped) and 1/2 a red chilli (deseeded and finely chopped). 

  30. Method

  31. 1. First, prepare the brioche burger buns. In a glass jug, combine the warm water, warm milk, yeast and sugar and let stand until foamy, about 5 minutes. Meanwhile, beat 1 egg.
2. In the bowl of a stand mixer combine together the flours, salt and butter and mix the ingredients together until the butter is the size of crumbs. Stir in the yeast mixture and beaten egg. Run the mixer on medium-low for about 10 minutes, until a dough forms.

3. Shape the dough into a ball and return it to the bowl (the dough will be wet and sticky). Cover the bowl with lightly greased cling film or a clean, damp kitchen towel and let the dough rise in a warm place until it is doubled in size, about 1- 1 1/2 hours.

4. Pre-heat the oven to 200°C. Line a baking sheet with greaseproof paper, and using a dough scraper or knife divide the dough into 8 equal parts. If you have a scale each piece can be weighed to make sure they are all the same size.

5. To shape the dough into balls, gently flatten each piece like a pancake. Pull up each side pinching it together in the center. Repeat until the ball is sealed. Flip the ball over (seam side down) and move to an un-floured part of your board (it's easier to roll this way). Place your palm over the top and gently roll into a smooth ball. Transfer to the lined baking sheet, placing them 2 to 3 inches apart. Cover loosely with plastic wrap and let the buns rise in a warm place for 1-2 hours, or until puffy and slightly risen.

6. Now, beat the remaining egg with a splash of water and gently brush the egg wash over each bun once they are done with the second rise. Before the bread goes into the oven add a shallow baking pan to the oven floor containing about 125ml water as this will create steam during the cooking process and help to keep the bread nice and moist. Bake for about 15-20 minutes or until golden brown. Transfer to a wire rack to cool completely.

7. Once the burger buns are out of the oven you can start making the bean burgers. Begin by heating 1 tbsp. olive oil in a pan. Add the onion and spring onion, season and fry over a gentle heat until softened but not coloured. Add the garlic, chilli and Cajun spice, then fry for 2-3 minutes. Tip into a bowl, add the mixed beans and roughly mash before leaving to cool slightly. (note. I had to use mixed beans in tomato sauce as that was all I could find but I just poured them into a sieve and rinsed them under a tap to get rid of the sauce).

8. Now, add the egg, breadcrumbs, coriander and lime juice. Season, then mix well to combine. Gently stir in the crumbled feta. Wet your hands slightly, then shape into 8 large burgers. Place on a lightly greased tray and chill them in the fridge for at least 30 minutes. (note. if you don't want to make 8 burgers you can always half the recipe or place the burgers you don't want to use on a lined baking sheet and open-freeze them until solid, then pack into a plastic container, seal and freeze for up to 3 months.)

9. To cook the chilled burgers, preheat the grill to medium. Heat the remaining oil in a frying pan over a medium heat, add the burgers and fry for 3-4 minutes on each side until golden brown. Top each with a slice of smoked cheese, then transfer to the grill for 3-4 minutes until the cheese is bubbling and melted. Serve in toasted brioche buns lined with guacamole and sweet chilli sauce and scattered with fried spring onions.

(note. if you would also like to make your own guacamole then you can find the recipe I like to use here.)


Saturday, 16 August 2014

Asparagus, Courgette, Feta and Sesame Salad.


Hello again! It's been a while since my last post as I was really busy last week attending my Auntie's wedding which was absolutely stunning. My Auntie and I have really similar taste so naturally I absolutely adored everything about her wedding, from the gorgeous cake to the beautiful flowers and delicious three course meal complete with my favourite Heidi Pieminister pie and a delicious dessert trio of; lemon tart, chocolate brownie and raspberry meringue. Yum.


The venue was stunning, the Cham 69 cocktails were particularly delicious and I definitely could have helped myself to a few more of those. We danced along to 80s songs all night and even broke out the air guitar a fair few times to some rock classics which was pretty hilarious and more importantly my incredible cousins; Alfie and Hugo also looked completely adorable and handsome in their little blue suits as the page boys for the day too.


My Auntie's dress was absolutely gorgeous and I actually couldn't believe just how beautiful she looked and how amazing her dress was when I saw her. It was honestly breathtaking. I was also really lucky to be asked to be her bridesmaid which, was very exciting as I am really close to her and I felt really privileged to be part of her special day. 


It was honestly just an amazing day for an amazing couple and they really deserved it and I wish I could do it all over again. Weddings are incredible, people should definitely get married more often. 


I am back now though and on a mission to keep healthy and lose a few pounds so here I am sharing with you this yummy salad recipe so, that I can hopefully one day look lovely in my own wedding dress but, for now as a lonely, singleton I'll just take getting that nice bikini body and who knows, it might just help me bag that future husband of mine too.

This is a lovely, simple, light and refreshing salad and I really enjoyed it and hope you do to! The lemon zest and juice gave a delicious fresh and summery burst to a nice healthy and tasty salad which, will hopefully help towards trimming down the old waistline unlike the homemade banoffee tart I will be munching on later. Sorry! No one can munch on lettuce leaves all the time though, can they? Unless of course you add a nice crumbling of creamy feta, some juicy courgettes and a handful of delightful, crunchy spears of asparagus, then it's not so bad.

Recipe
3 tsp. sesame seeds
280g asparagus
100g peas
2 courgettes
2 tsp. sesame oil
rocket leaves
125g feta, crumbled
grated zest 1 lemon
juice 1/2 lemon
small handful of mint leaves, finely chopped

Method

1. Heat a small frying pan and add the sesame seeds. Cook, shaking the pan and making sure the seeds don’t burn. When they are fragrant and have turned a light teak colour, tip them onto a saucer.                                                                                                               

2. Steam the asparagus for 3-4 mins until almost done. Drop into a bowl of iced water to cool, then drain and wrap in a tea towel to dry really well. Cook the peas for 3 mins in the boiling water used to steam the asparagus, then drain and cool under a cold tap. Slice the courgettes on the diagonal, about 0.5cm thick.

3. Heat a griddle pan until very hot. Brush the asparagus and courgette slices with the oil, and cook in batches until nicely striped with dark brown. Cut the asparagus into 5cm lengths.

4. Mix the asparagus, courgettes, peas, rocket, half of the feta, mint, lemon juice and lemon zest. Grind over some black pepper and sprinkle with the sesame seeds and remainder of the crumbled feta before serving.
And now, just to leave you with possibly the cutest pictures you have ever seen in your entire life of my adorable nephew Charlie who may just be the most gorgeous boy in the world!